
I’ve been baking bread for a LOOOONNNGGGGG Thyme, er, time. Long before everyone took up sourdough during the pandemic and made bread flour from King Arthur very expensive.
Really – I watched Jacques Pepin make a french bread in about 1987 or so, and figured that I could try. About a dozen years later we started “Bread Day” passing out loaves to our neighbors for Thanksgiving. My daughter, who has made her own variations on this bread, has a “Bread Day” back east – a tradition well kept.
I developed my own “standard” french-style bread dough as a result. It was the basis for this bread, but since I never published my standard recipe this knowledge will do you absolutely NO GOOD AT ALL.
That’s part of my evil plan, to release dangerous gluten into the wild. Free Gluten, I say. There are so many books about how to make bread. I don’t have the space or patience to repeat all of that, so I’ll assume that you’ve made bread before. What I hope is more informative is to pass on notes in this recipe that might make the process a bit easier.
I mock those who make sourdough (well, I make sourdough so don’t be offended). What makes sourdough sour is actually just citric acid. Plus, a long, Long, LLLOOONNGGG time making and keeping the starter.
But……. Lemon Juice has, get this, citric acid. Yep, who knew (ok, probably everyone but me, but we all know I’m not that bright). So, if you add lemon juice to bread dough, you’ll get a sour flavor. It’s not the same as real sourdough by a longshot, but it takes wwaaaaayyyyy less time.
Ingredients:
- 2 tsp yeast
- 1 ½ lb. bread flour (4.5 cups), plus a couple of tbsps. to knead
- 1 ¼ tsp salt
- 1 ½ to 2 tbsp. herbs (Thyme, Herbes de Provence; more below)
- Approx 1 tbsp. grated lemon peel. (1 lemon!)
- Approx 1/3 cup lemon juice (1 lemon!)
- 2 cups water, less the juice.
- 2 tbsp. olive oil, plus ¼ tsp for bowl

Ingredients:
Step 1. Mixing Dry Ingredients
I use a standing mixer – my KitchenAid has been with me for well over 20 years. You can mix this by hand, and god bless you for doing so, but boy that’s no fun. I say this with apologies to my daughter, who does mix by hand and broke a spatula in the process.
So, toss into the bowl the bread flour, yeast, salt, herbs, and lemon peel. That’s it.
But some things I’ve learned along the way
- Yeast does not need to be proofed. All those recipes that have you put the yeast in water for 5 minutes are ssssoooo out of date. The yeast you buy is so good now that you can simply add it dry.
- Lemon Peel – DO NOT MEASURE… Really. Just grate one lemon’s worth and call it a day.
- Salt: In my standard bread recipes, I would call for 1 ½ to 2 tsp. But olives have salt, so cut it here.
- Herbs: These are to taste, and I like herbs in my bread. I think that Thyme or Herbs de Provence are good; my preference is to lighter herbs than, say, Oregano. I do admit that fresh rosemary is really good and probably works here, but dried rosemary sucks.
- I find that if you take a spatula and mix it a bit by hand, you’ll get a better result than the dough hook. This is optional.
Step 2. This Stuff is Thirsty – Give it a Drink of Lemonade!
Juice the lemon. Whatever it comes to, it comes to. Put it in your measuring cup and then fill up to 2 cups with water. Oh, and take out the pits. Not need for extra crunch (yes, I’ve done that!)
Pour it into the bowl with 2 tbsp. of olive oil.
A standard french bread has no oil, but the goal here is to have a softer crust and the oil does that nicely.
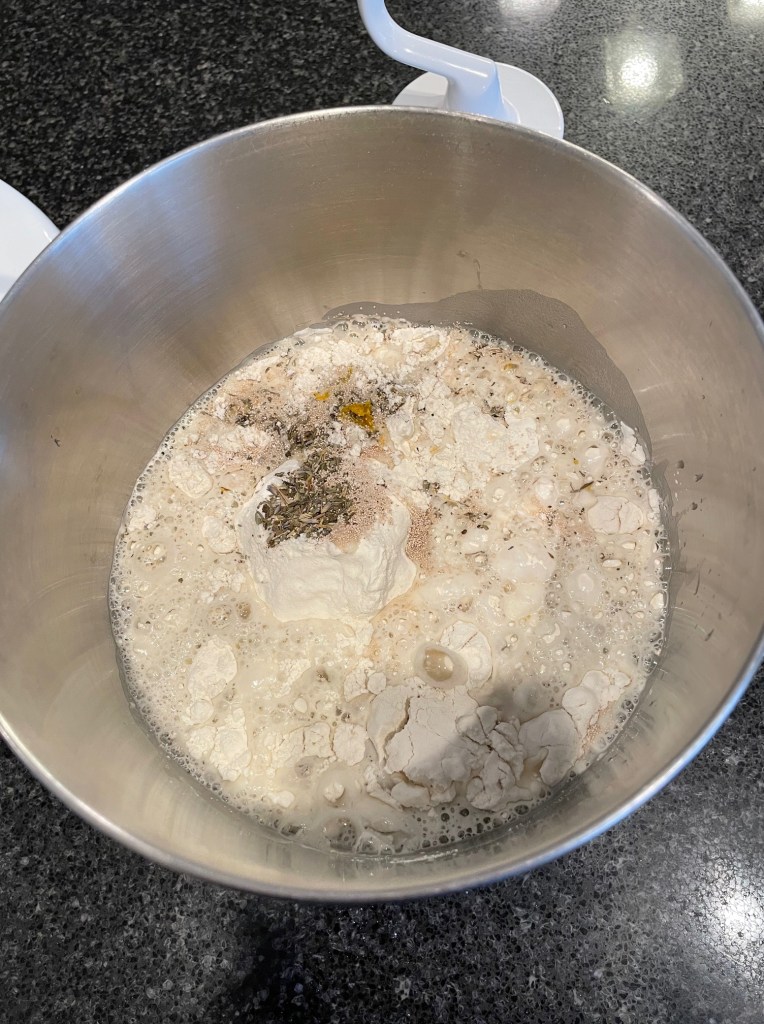
When you’re all done, the ingredients look something like this before mixing and kneading (and yes, I didn’t mix the dry ingredients first – DO AS I SAY NOT AS I DO! After all, you want this to come out nice.)
Step 3. Taking a Nice Dough and Making it all Sticky Again
Turn on the mixer and let it do its thing. When it’s close to being a “done dough” – you have a ball of dough on the hook and the sides are clean – you add the olives and let them mix in.
Here’s a tip: If you want to be fancy, you can start the mixer, get a shaggy dough, turn it off and then go and cut your olives. The process is called autolyze; the idea is to allow the flour to absorb the water and then do the kneading. It’s not necessary but it does seem to shorten the actual time your mixer needs to be running.
Another tip: Once you add the olives, the dough will get sticky again. I like to put in about a tablespoon of flour just before I’m done with the mixing. Like 10 seconds. It’ll cause the dough to pull away from the bowl and be easier to handle. Plus, the mixer bowl will be easier to clean.
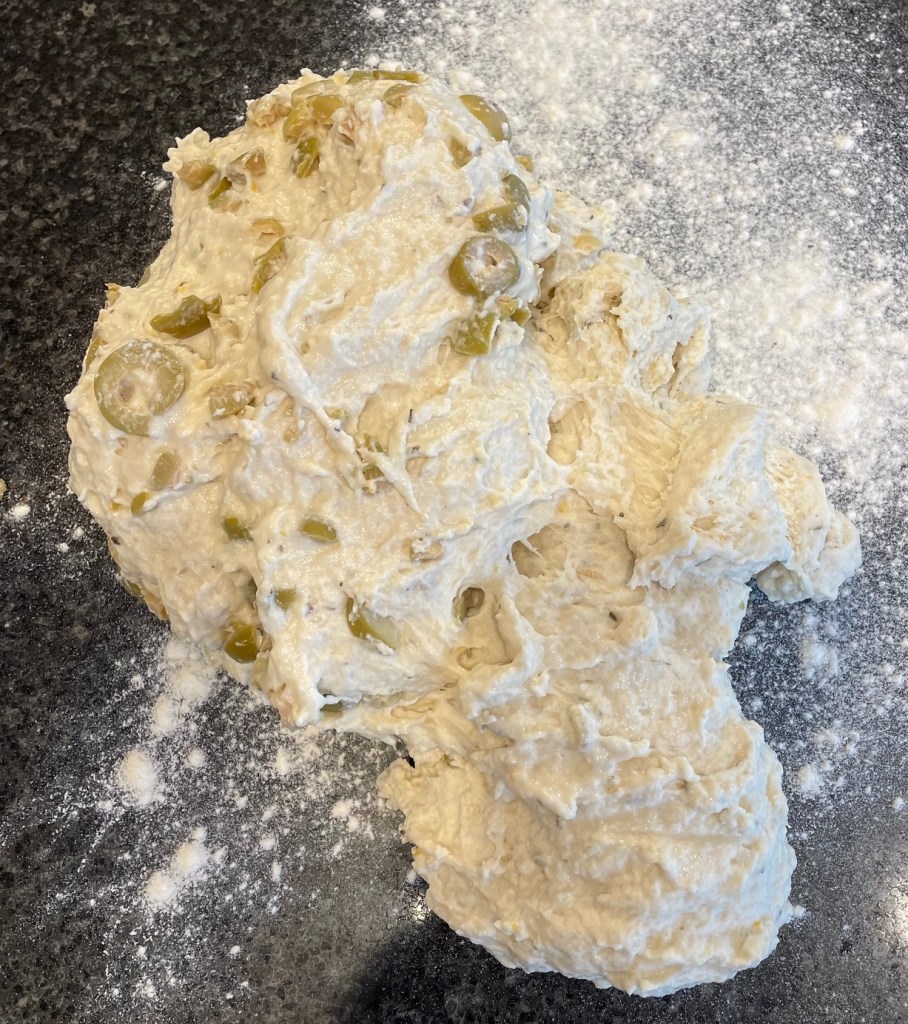
Step 4. Final Kneading – This Thing NEEDS a Knead

As you can see above, the dough comes out a bit rough and sticky. I put it on the counter and knead it for a few reasons.
1. You want a smooth ball
2. The dough is sticky, and the extra flour gets absorbed nicely
3. The olives are not well spread out through the dough.
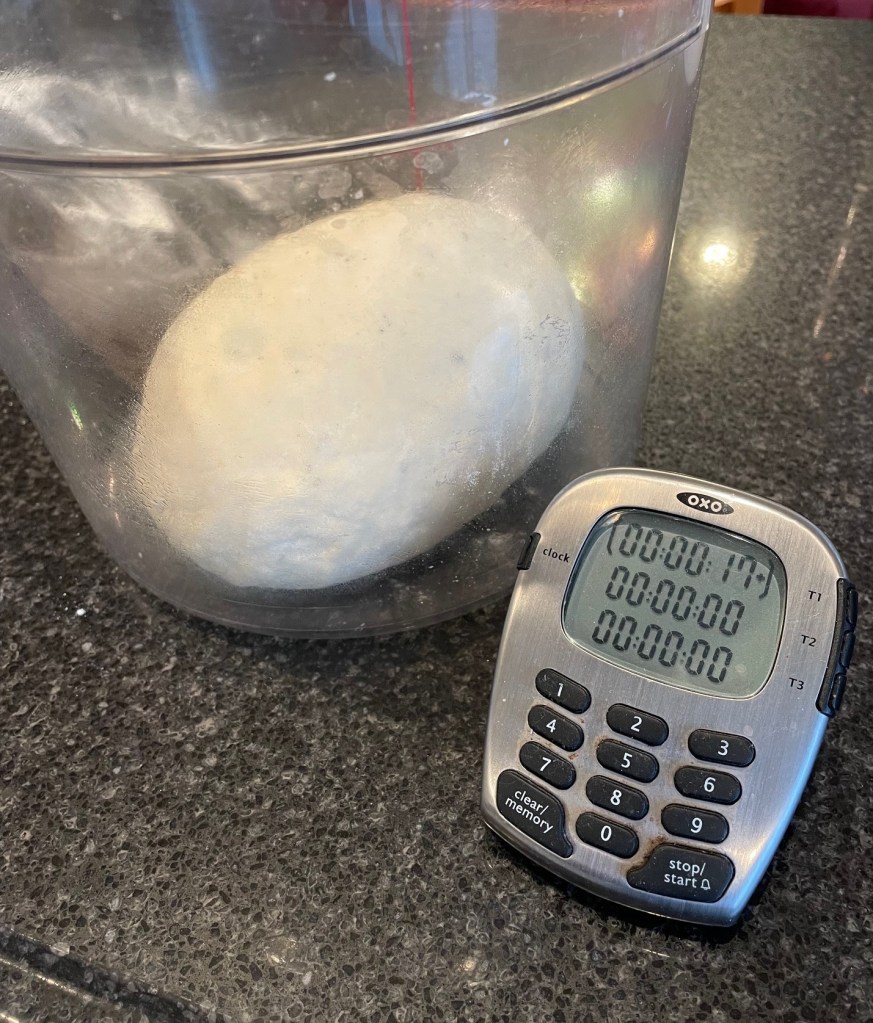
Step 5. Go Do Something Else for about 2 Hours and 17 Minutes
Put a very small amount of oil into a bowl and rub it around with a paper towel. This really helps when it’s time to take the dough back out, keeping all that air in the bread.
But a warning – if you measure the ¼ teaspoon as the recipe states, I WILL come to your house and berate you loudly. After that we can have a nice glass of wine.
Bread rises in its own good time. This one took 2 hours 17 minutes, but your mileage might vary. Plenty of time to have another cup of coffee in my sharktopus cup.

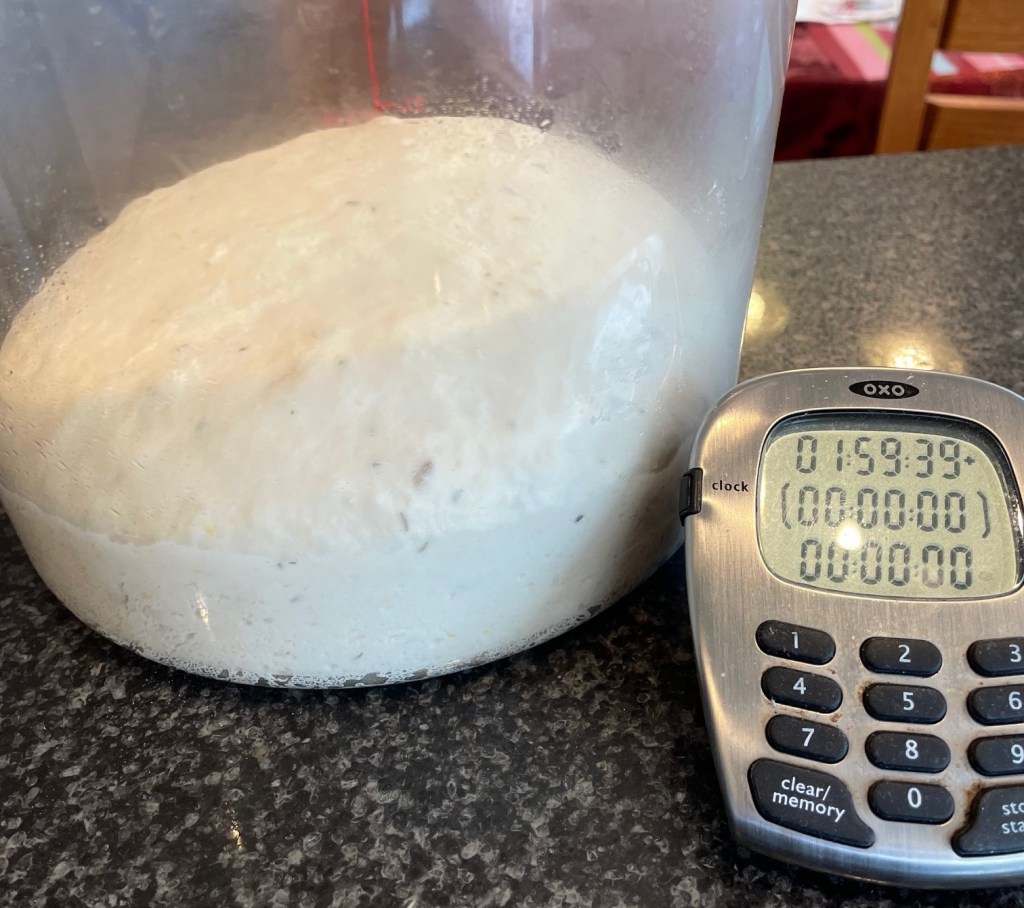
(your mileage WILL vary)
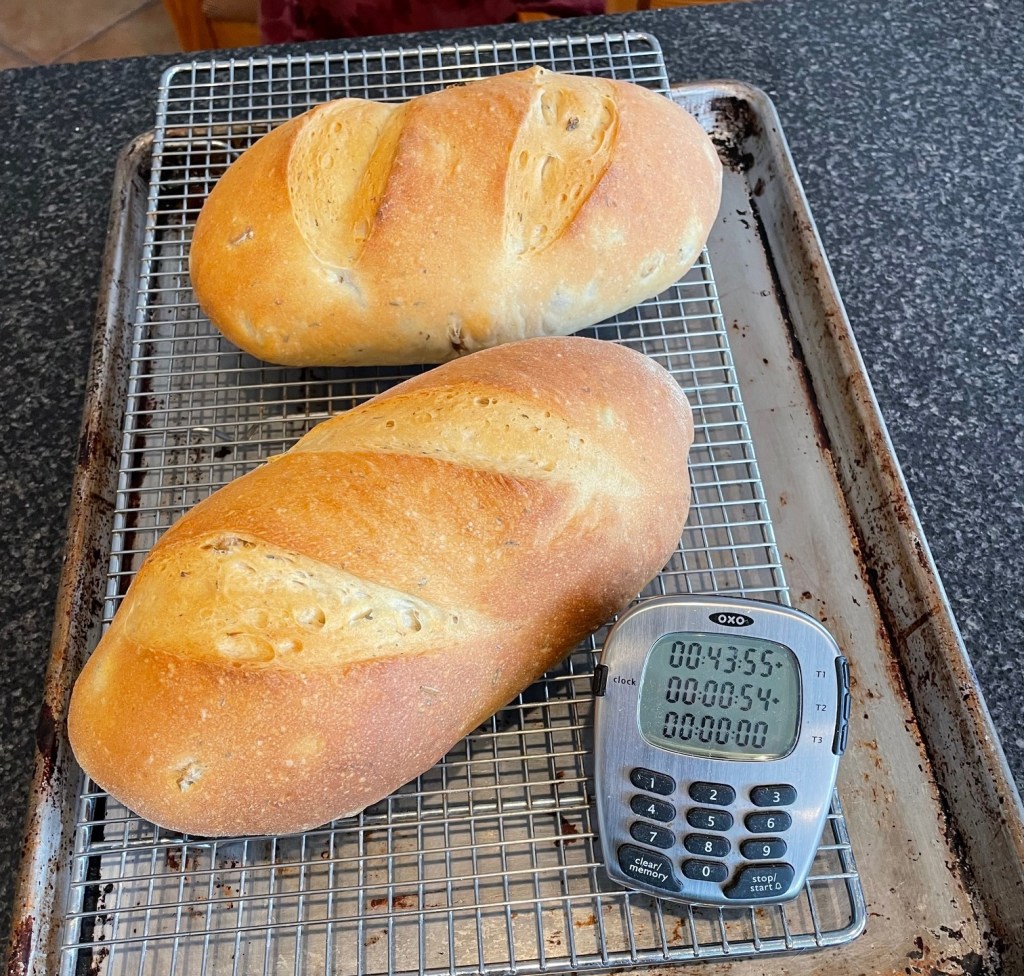
A really good tip: You’ll see that my timer (I actually have 2 of these) has multiple timers. I’ve used these multiple timers multiple times. Then later we will divide the bread – Fun with Math!
Here’s how I do it: I always use a “count up” timer to track the total time that has elapsed, as you see here. I use a “count down” timer to remind me to check things out. This way if I forget to set the count down timer, I can always backtrack from the one counting up. No need (or knead) to track this in your head. Yes, counting counts…..
Frequent Bread Baker’s Tip: Covering a bowl with plastic wrap is no fun. I watched Jacques make a proofing box from cardboard and tape. As much as I want to reuse Amazon boxes and be the son Jacques never wanted, I found a better way. I went down to the big box store, bought a big plastic box with a big plastic lid. I put my uncovered big container in the big box with a small bowl of hot water, and it works great. Also, when I’m working on the final loaves I can simply cover the tray with the upside down big plastic box.
Step 6. Take the Dough Out, and Whip It Into Shape
I cut this in half, making 2 loaves. However, you like shaping the bread, do it that way. There are a lot of books and articles on this process – nothing new here.
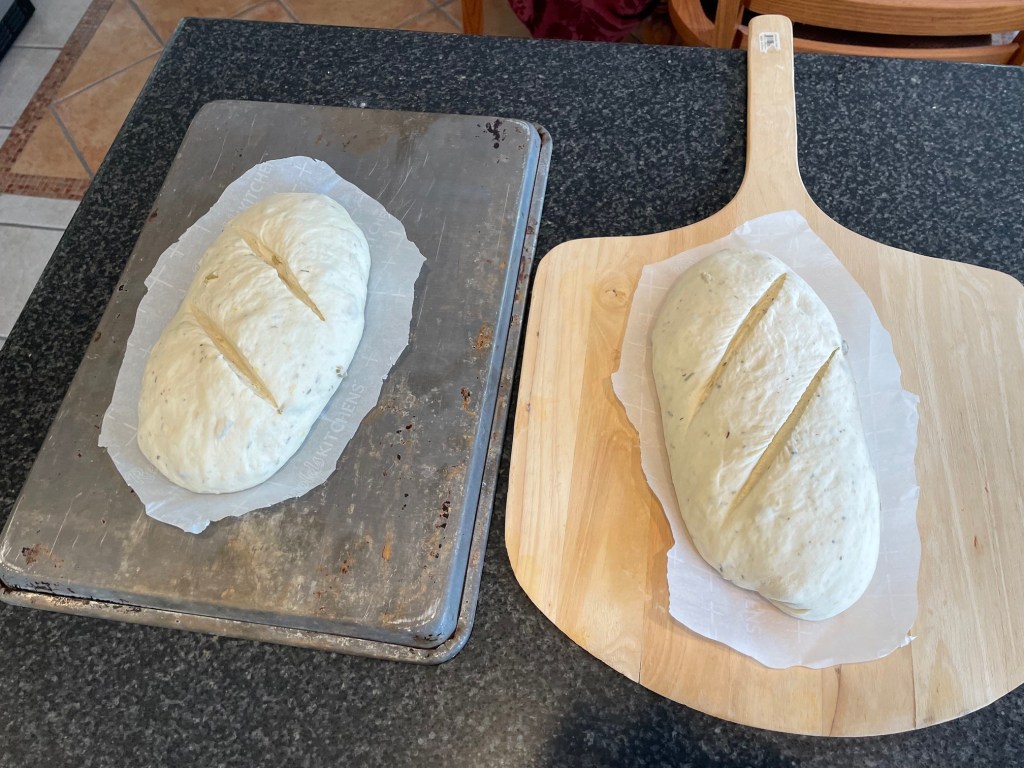
One more trick: I actually put the loaves on parchment paper. Then I slide the loaves with the parchment into the oven. Makes my life easier than having to unstick my hands from bread loaves as I try to get them off whatever I was rising it on. And yes I’ve done that any number of times.
Step 7. Gentlemen – Start Your Engines! And then wait for another hour or so
Preheat your oven to 375. Do it now. Don’t wait until 30 minutes later, as you’ll forget. Really, I’ve done that.


It took me about 1 hour to get the final proof done. There is no really great method that I’ve found, so I do a few things
- Look for bubbles under the surface.
- Press the side (with a floured finger) and if it doesn’t bounce back it’s a bit done.
- Take a deep breath and wait a few more minutes.
- If it’s begun to flatten out, then you’ve waited too long.
Step 8. Finally – We Actually get to COOK the Thing
Now that about 4 hours have elapsed, you get to the actual cooking. Here’s some notes:
- Slashing the loaf is essential to getting it to rise. I was told that the end of one cut should be the start of the next.
- I cut off most of the parchment so that the loaves don’t touch. But I use the parchment to pull it onto the oven stone.
- Yes, you could just put these on a cookie sheet when you form the loaves, and skip the stone – really, it works just fine that way.
- No, I don’t try to “mist the oven” with water. It just lowers the temperature and I’ve never noticed a material difference.
- I’m using a lower temperature oven here. I want to get a golden colored crust, not a rustic brown one like a french loaf. That’ll also keep the crust softer.
- I put it into the oven on the parchment, wait about 10 minutes, and pull the parchment off.
- I do the same “count up/down” with the timer. At about 40 minutes total, I check to see if it’s ready.
- No, thumping the bottom or taking a thermometer is not helpful. It’ll just look right. Figure about 45 minutes


Step 9. Wait Another Hour, and then EAT!
All the grocery stores that offer bread fresh from the oven aren’t telling you something – you need to give it an hour or so to finish cooking out of the oven.
So… good luck, and have a glass of wine on me.
All the grocery stores that offer bread fresh from the oven aren’t telling you something – you need to give it an hour or so to finish cooking out of the oven.
So… good luck, and have a glass of wine on me.

Leave a reply to LarryLand Cancel reply